


置顶盾网2.0新手常见问题总汇
问:盾网如何免费白嫖VIP? 答:第一个月付29元开VIP,然后在后台应用中心设置2345主页或者传奇业务赚取收益,用收益续VIP; 问:怎么修改客户机浏览器主页来赚取收益? 答:参考https://www.pxecn.net/technology/263.html,将代码复制
 2026-05-15
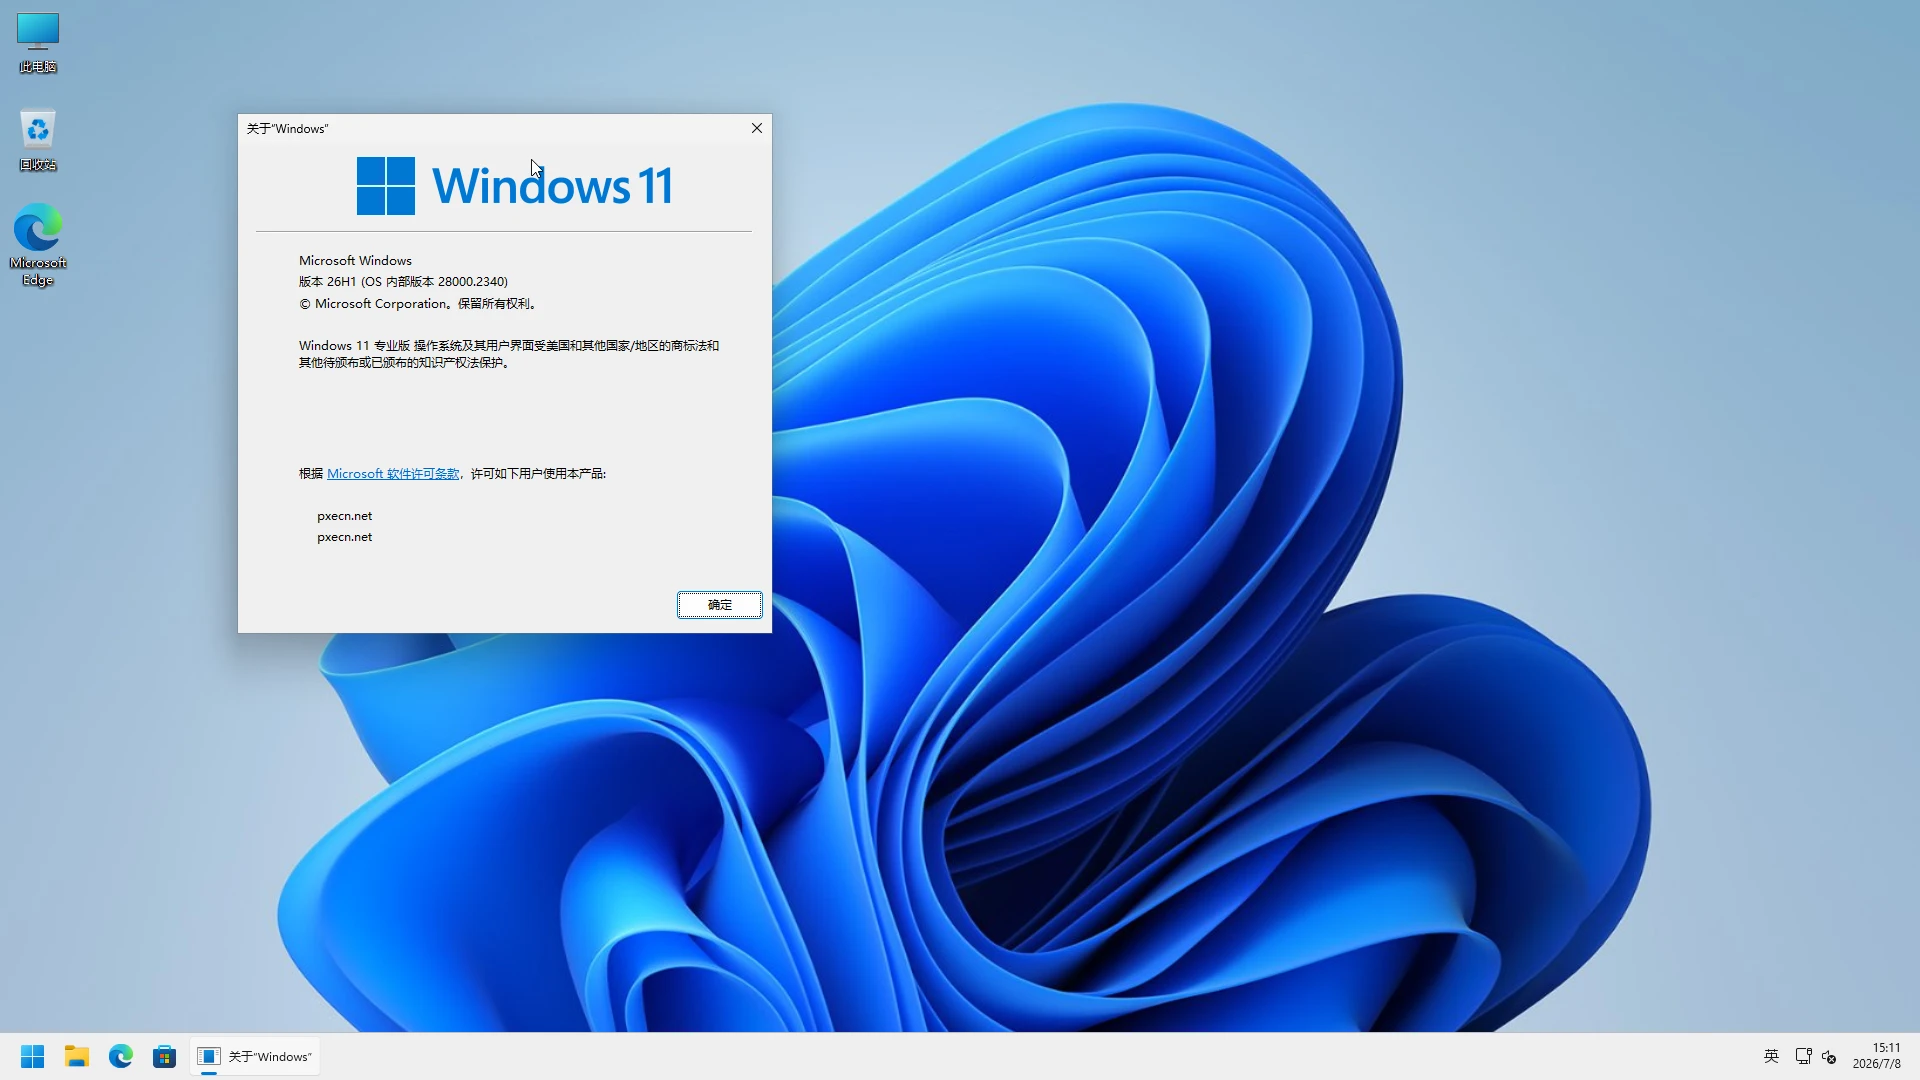
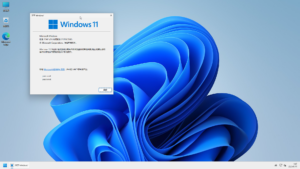
Windows11_x64_28000.2340_技术员装机纯净专业版(20260708更新)
系统特色: #封装方式:基于原版26H1专业版纯手工离线断网制作; #引导方式:仅支持GUID+UEFI; #启用组件:.NET 3.5、SMB 1.0、DirectPlay; #默认禁用:Windows Defender; #默认安装:Adobe Flash、Edge、D
2026-07-08
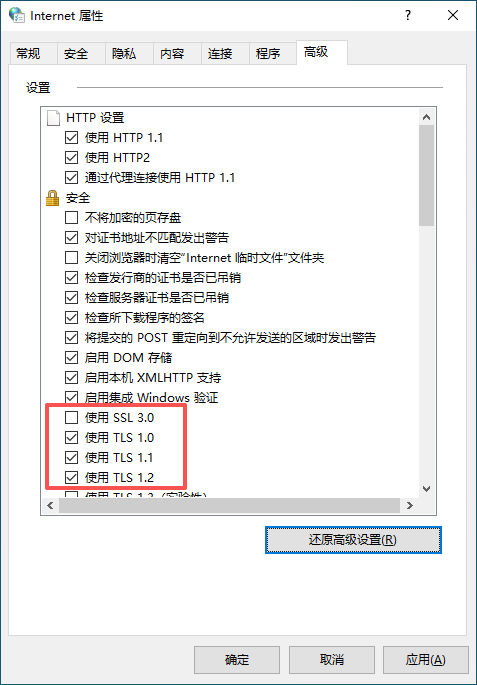
如何下载微软商店最新安装包---强制覆盖升级
无盘公包在制作时,微软商店是能打开的,也是更新好的,但是时间长了没更新,你们在使用的过程中就会导致打不开,或者能打开但无法安装应用;下面我给大家2个方法更新微软商店; 商店能联网的前题条件,是TLS是钩选状态;在控制面板里面打开internet 选项---高级---还原高级设置---确定;
2026-06-30

无盘公包v20260627更新
W10_W11—260613更新内容: 1、更新搜狗拼音输入法版本;新增集成.Net 8.0和.Net 10.0组件; 2、加快刚进桌面顺网无盘菜单加载速度;修复0607版本会自动安装驱动的问题; 3、附送工具增加DirectX_VC++_在线修复版工具(逃离塔科夫专用); 4、
2026-06-27
Windows11_x64_26200.8625_技术员装机纯净专业版(20260616更新)
基于原版25H2专业版纯手工离线断网制作;默认打包WIM,为二合一镜像(支持笔记本自建帐户_人脸识别,蓝牙,指纹解锁专用)
2026-06-16
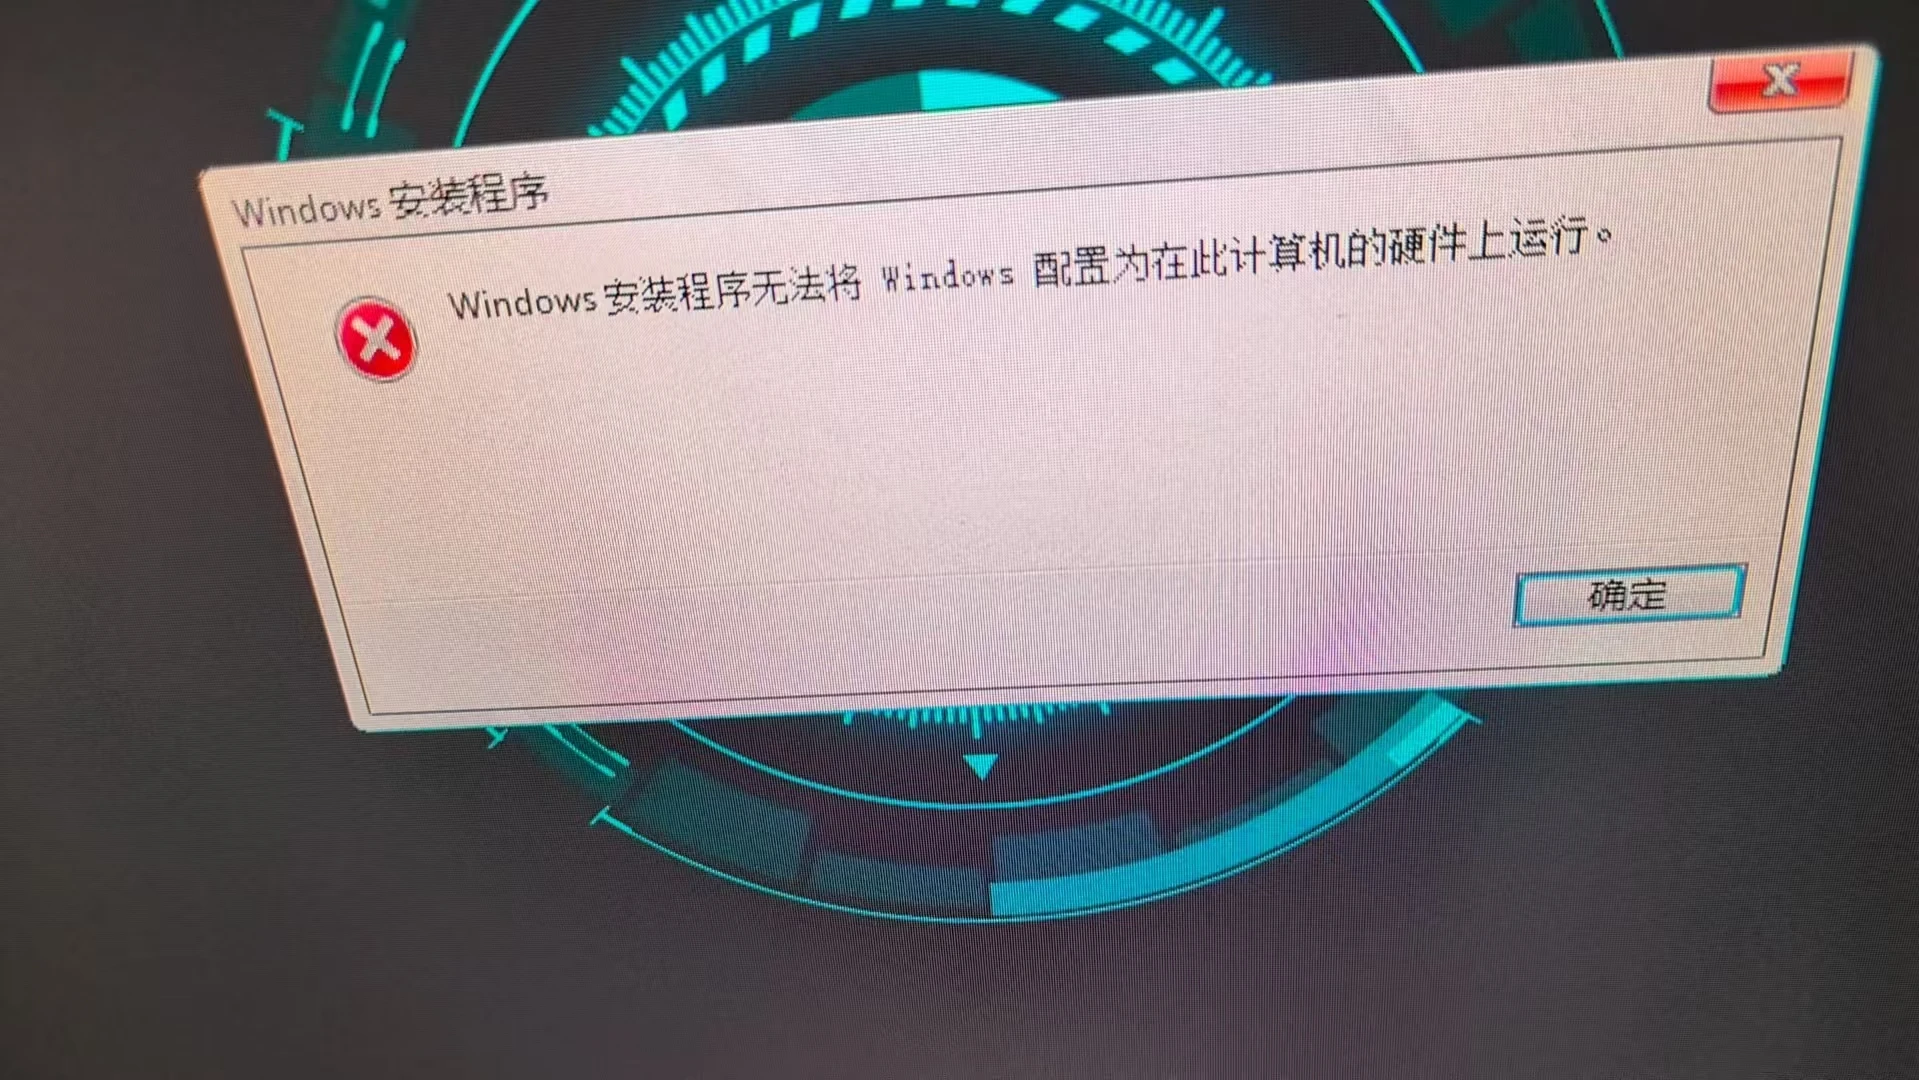
技术员装机系统安装过程中报错
技术员装机版安装的过程中提示这个的,一般情况下是引导问题;推荐用GPT+UEFI,如果已经是UEFI还是提示这个。就是引导分区损坏;还有一种情况是恢复系统前没有格式化系统盘,也有可能提示这个;
2026-06-15
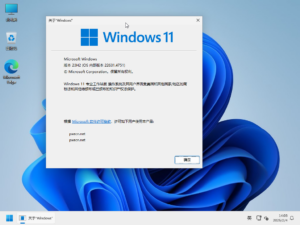
Windows11_x64_22631.7219_技术员装机纯净专业版(20260615更新)
基于原版23H2专业版纯手工离线断网制作;默认打包WIM,为二合一镜像(支持笔记本自建帐户_人脸识别,蓝牙,指纹解锁专用)
2026-06-15
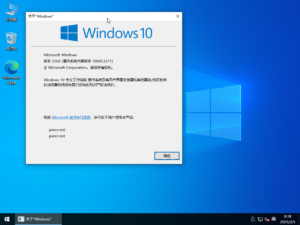
Windows10_x64_19045.7417_技术员装机纯净专业版(20260614更新)
基于原版22H2专业版纯手工离线断网制作;默认打包WIM,为二合一镜像(支持笔记本自建帐户_人脸识别,蓝牙,指纹解锁专用)
2026-06-14
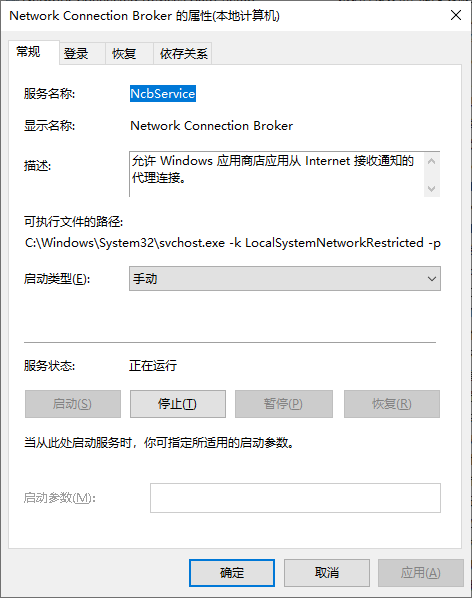
Win10和Win11_LTSC企业版_蓝牙搜不到设备解决方法
如果你使用的是Win10和Win11_LTSC企业版,蓝牙搜不到设备,请启动这个服务;并设置为自动即可!~
2026-06-02